
A little history is needed here...allow me to reflect for a moment...and yes, expect a long-winded post.
I got interested in woodworking more by accident than anything else. Amy and I decided a couple of years ago to put down hardwood floors in our dining room and living room. At the time, the only power tool we owned was a drill and a el-cheapo circular saw. But as the dining room was fairly square...well, as square as any room in our house is anyway...I didn't need to make lots of complicated cuts. But as we moved to the living room and hallway areas, we rapidly found out that a circular saw isn't exactly the best tool for ripping pieces of hardwood flooring. There the disease began to set in...
First it was a jigsaw. Then it was a compound mitre saw. Then it was a bench top table saw. The final blow came at Christmas time when Amy's mother bought me a book of simple home improvement ideas, the most interesting of which was a workbench and a shelving unit. At that point I decided that I needed an area of my own in which to ruin wood.
Luckily, we have a small room behind our garage that worked well for this purpose. It's about nine feet wide and twenty feet long, which was fine for my little shop. I cleaned it up and started building shelves and a bench.
I soon realized after borrowing a friend's contractor's table saw that my little Ryobi bench top saw wasn't going to get me very far at all. It worked fine for cutting up flooring, but I knew it wasn't going to get me very far. To make a long story a bit shorter, lets just say that the additions of a portable planer, a 6" jointer, a router table, a contractors saw and the workbench made things a little too cozy. When Amy took up wood carving, well, things got a bit more cramped. And when Amy convinced me, by brute force of course, that we needed a band saw, only for her wood carving interests, mind you...I will never have any need for a band saw...we realized that, well, our hobby had outgrown our space.
We decided it was time to bite the bullet and enclose half of our garage to expand that workshop. So, my brother, Mike and I made a couple of trips to our local Borg to requisition the needed supplies and commenced the building.
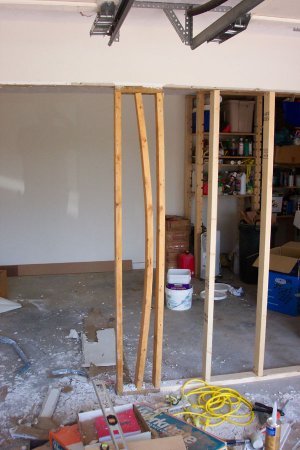
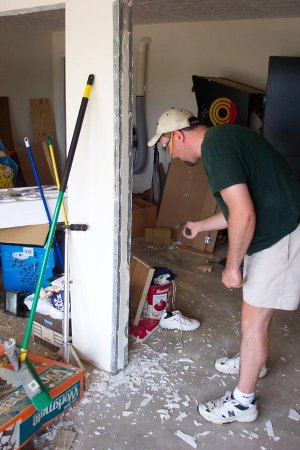
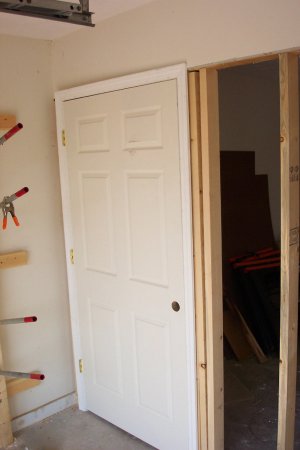
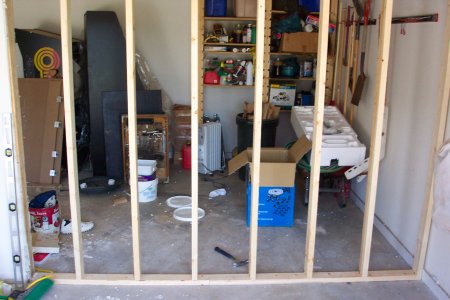
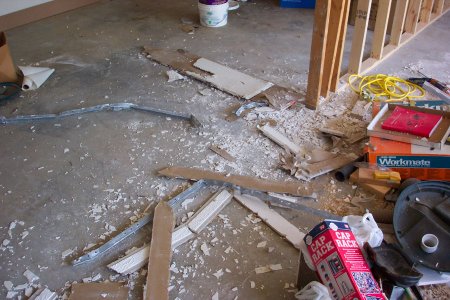
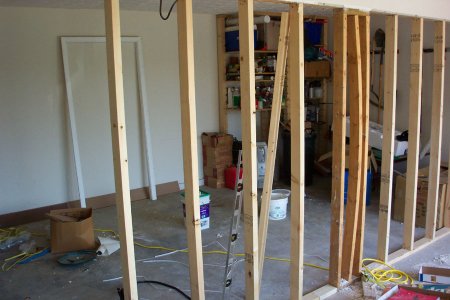
Mike and I worked until about midnight on this stupid wall, but we got it up and managed not to nail any extremities to the wall with the framing nailer. The pictures below depict the carnage and rebuilding.
One small note, however...if you look at the first picture, you'll see a rather interesting stud. When Mike and I tore down the sheetrock from the center support post (second picture), we were greeted by this stud. It isn't nailed in place...at least we can't see any evidence of it being nailed in place. The only thing we can figure is that it was warped like that when it was stuck in place...quite odd. We stared at it for fifteen minutes trying to figure out what it was for.
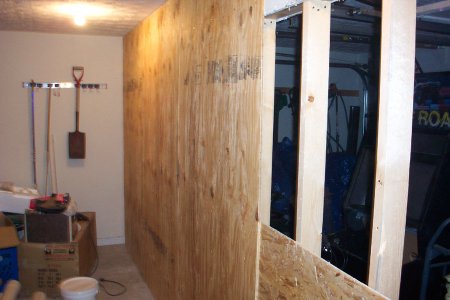
Oh, one other thing...yes, we covered the walls with plywood. No, it isn't pretty, but I hate trying to find studs when I'm attaching stuff to the wall. The plywood should take care of that problem...and no nasty sheetrock dust to clean up.
 |  |  |
 |  |
 |  |